
From Cold to Polished: A Garage Makeover in Chestermere
Around last year we were called to take on a project that’s always one of our favorites: transforming an unfinished garage into a space that’s not only functional but also visually appealing. Garages often get overlooked, but with the right attention, they can become a practical extension of your home; a workshop, a storage space, or just a more organized and inviting area.
In this project, the homeowner wanted a garage that could withstand the seasons, stay warm in the winter, and look clean and professional from wall to ceiling. Here’s how we approached it, step by step.
Step 1: Insulation for Comfort and Efficiency
The first thing we did was evaluate the space and install insulation. Garages often get very hot in summer and extremely cold in winter, so adding the right insulation makes a huge difference in comfort and energy efficiency.
We chose insulation that fit the wall cavities perfectly and made sure it was installed without gaps. This step might seem simple, but if it’s done poorly, it can lead to drafts and uneven temperatures. We always like to think of insulation as the backbone of a space – it doesn’t get noticed when it works right, but you notice immediately when it’s done wrong.
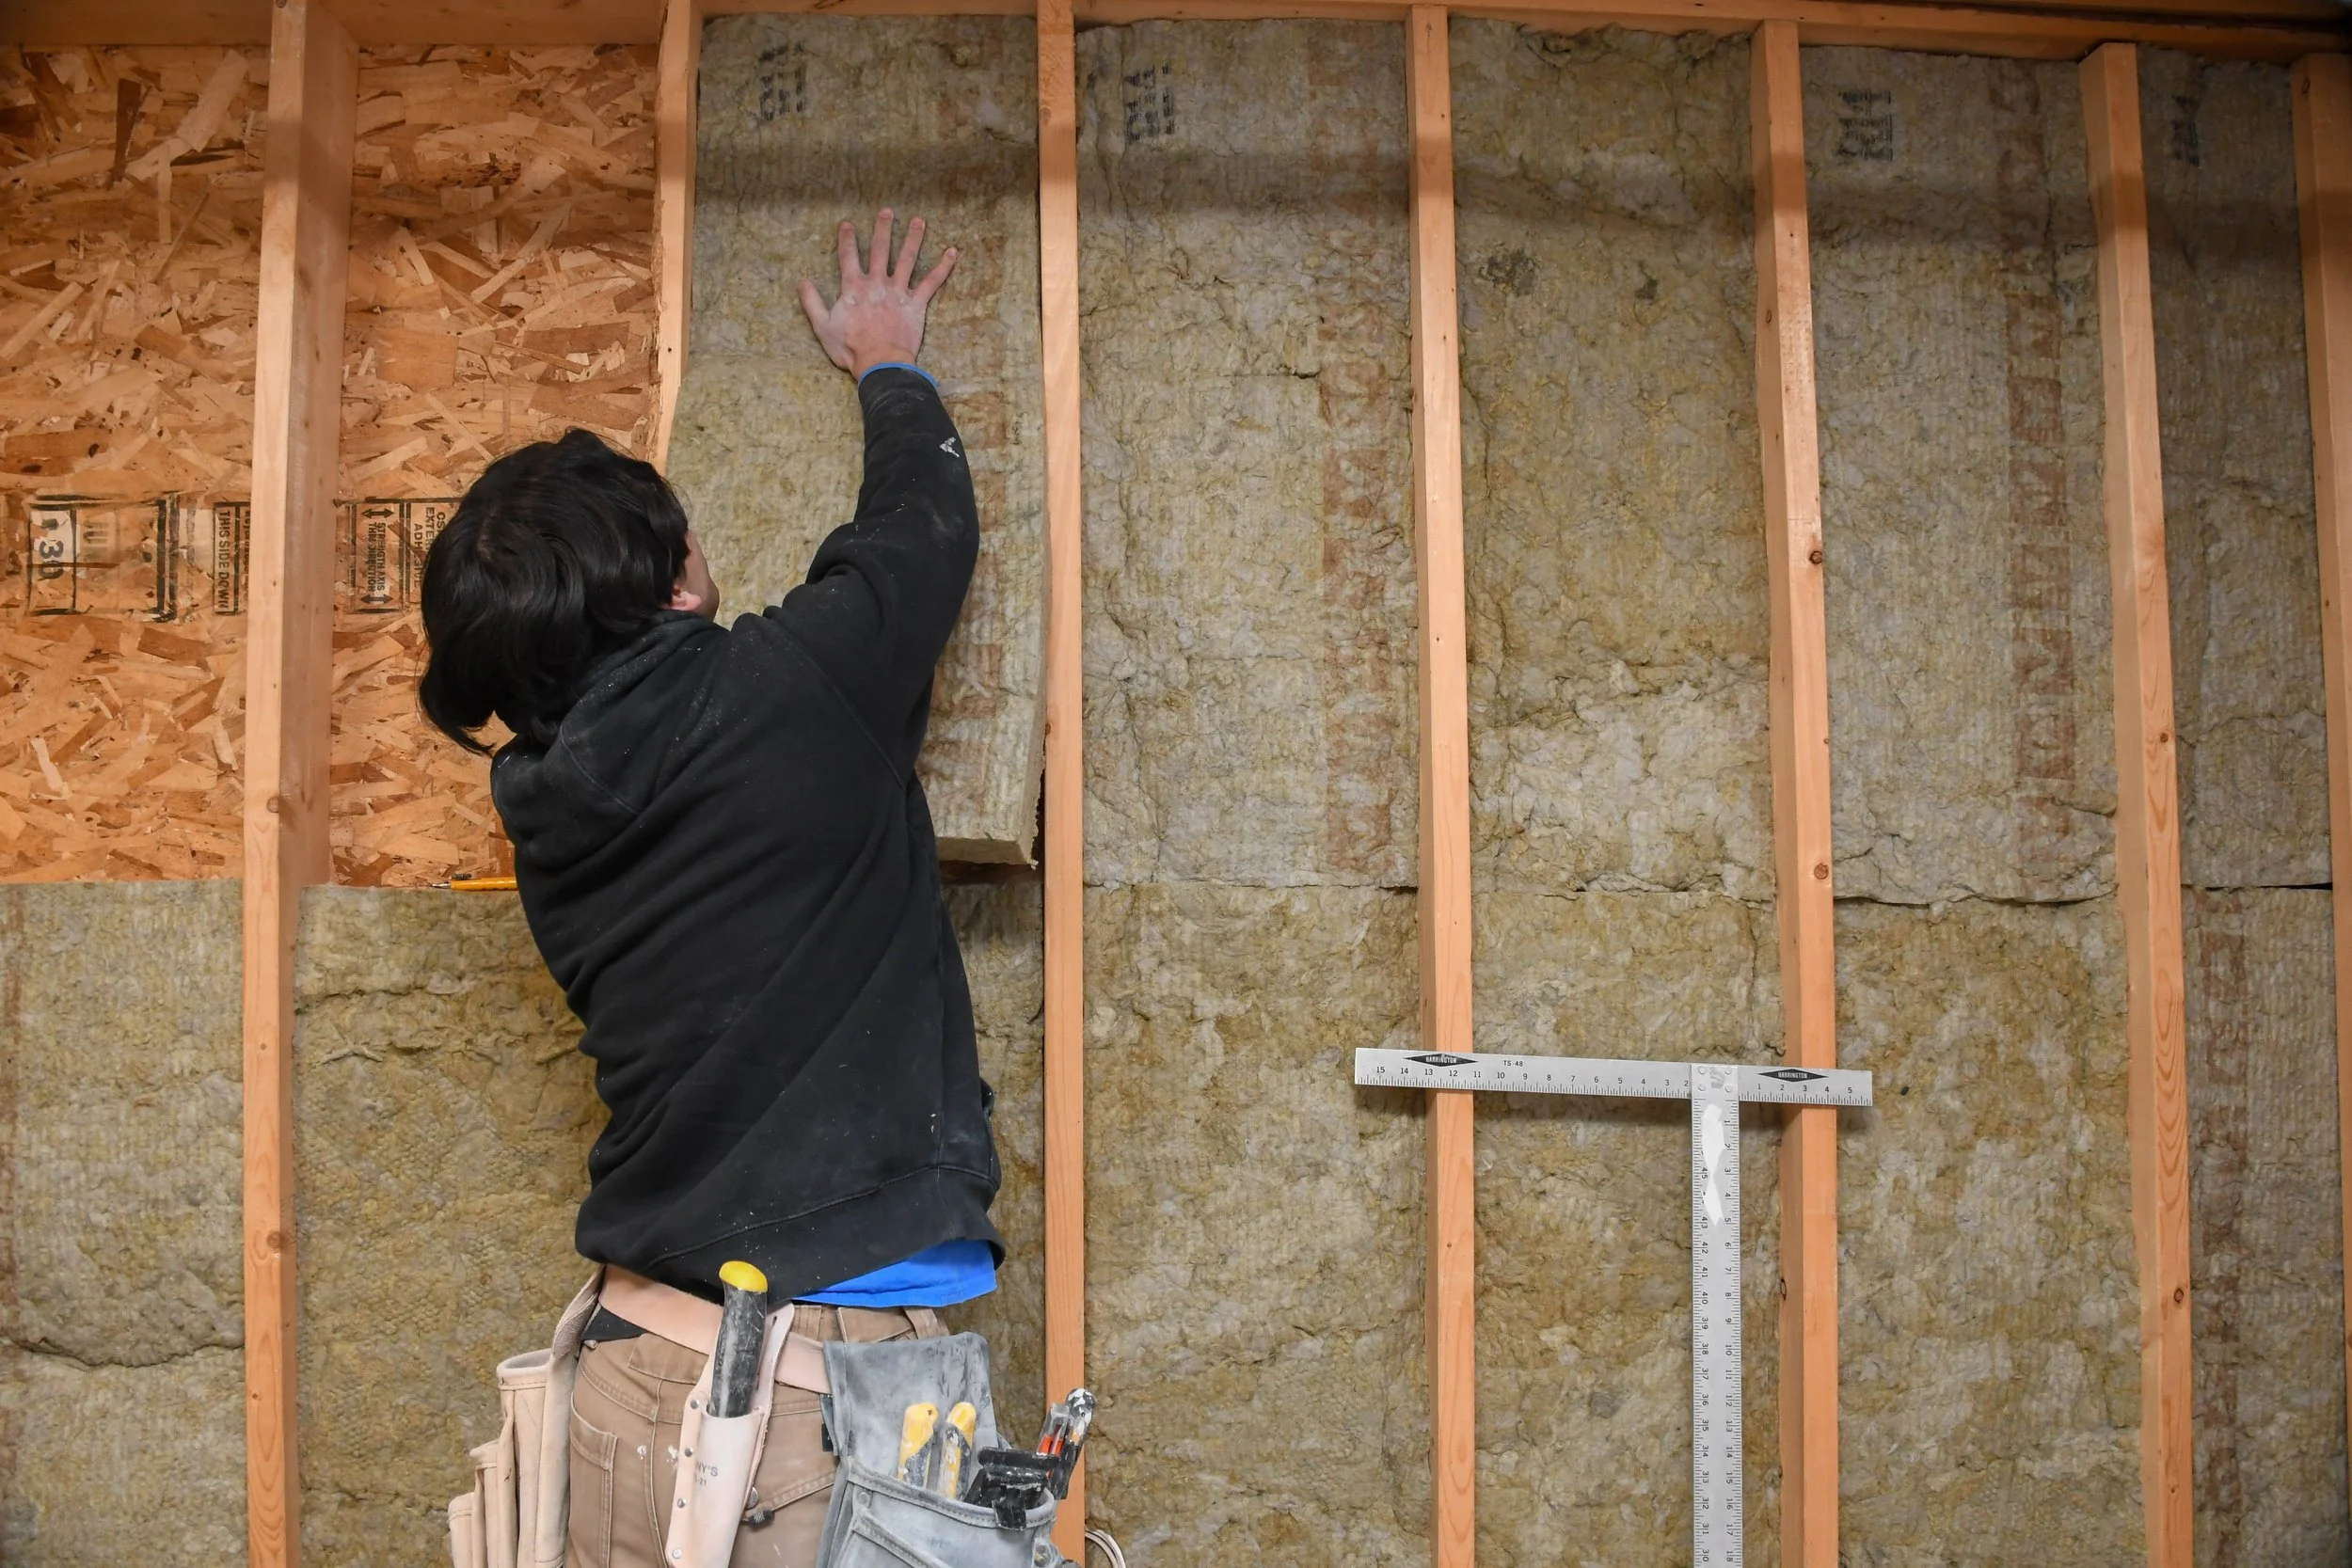
Inserting precisely cut batts of insulation between the framing
Step 2: Hanging Drywall with Precision
Once the insulation was in place, it was time to hang drywall. This is where precision becomes key. Every sheet must align perfectly with studs, corners, and electrical cutouts. A small misalignment now can lead to hours of extra sanding and patching later.
We measured twice and cut once, as the old saying goes, ensuring that each panel fit snugly. Proper fastening was essential, not just for stability, but also to prevent future cracking or nail pops.
During this step, we also check the framing for any minor irregularities. Even the most skilled taping can’t completely hide uneven framing, so catching these issues early saves a lot of headaches down the line.
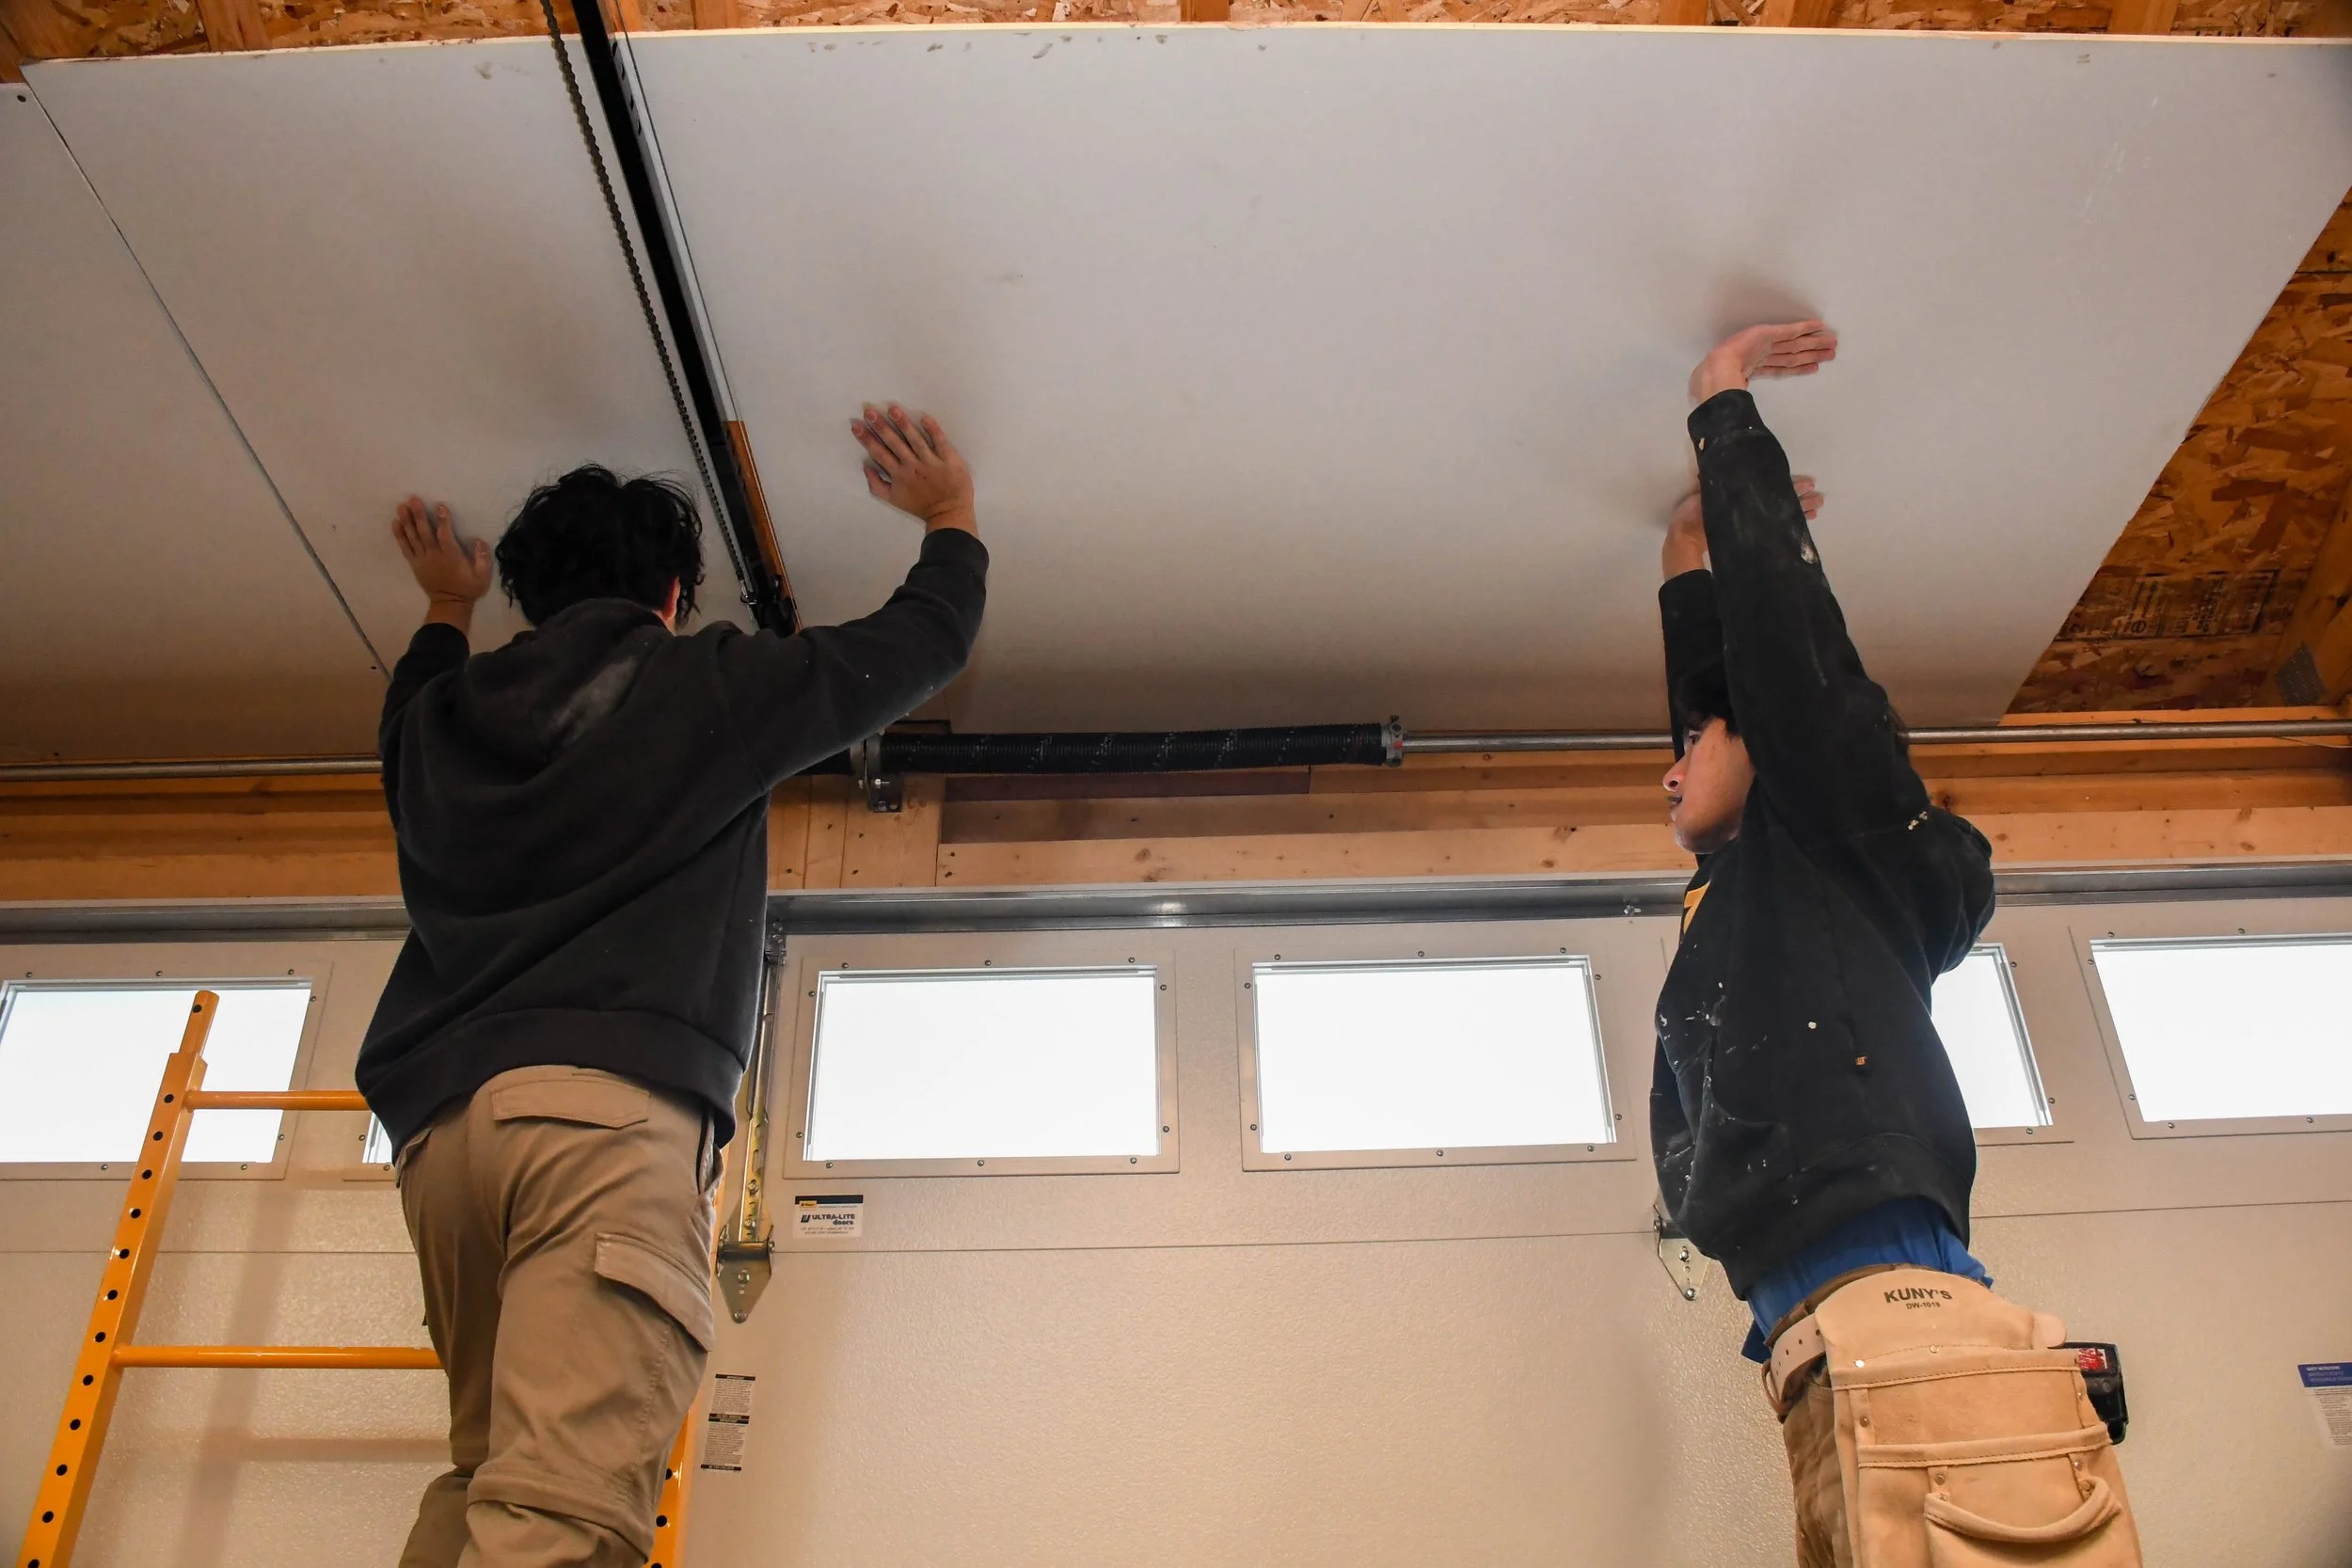
Installing a sheet of drywall into the ceiling
Step 3: Taping and Finishing: The Art of Smooth Walls
Taping and finishing might be the most satisfying part of the process, but it’s also the most meticulous. Every seam, angle, and screw head must be perfectly covered with joint compound.
Our client wanted a level three finish, meaning we applied a load coat of mud on the seams. We also reinforced corners with drywall tape to ensure durability.
Here’s a little insider tip for homeowners: sanding between coats isn’t about making dust; it’s about creating a consistent surface so the paint lays down perfectly. When done right, the difference between a DIY job and a professional finish is night and day.
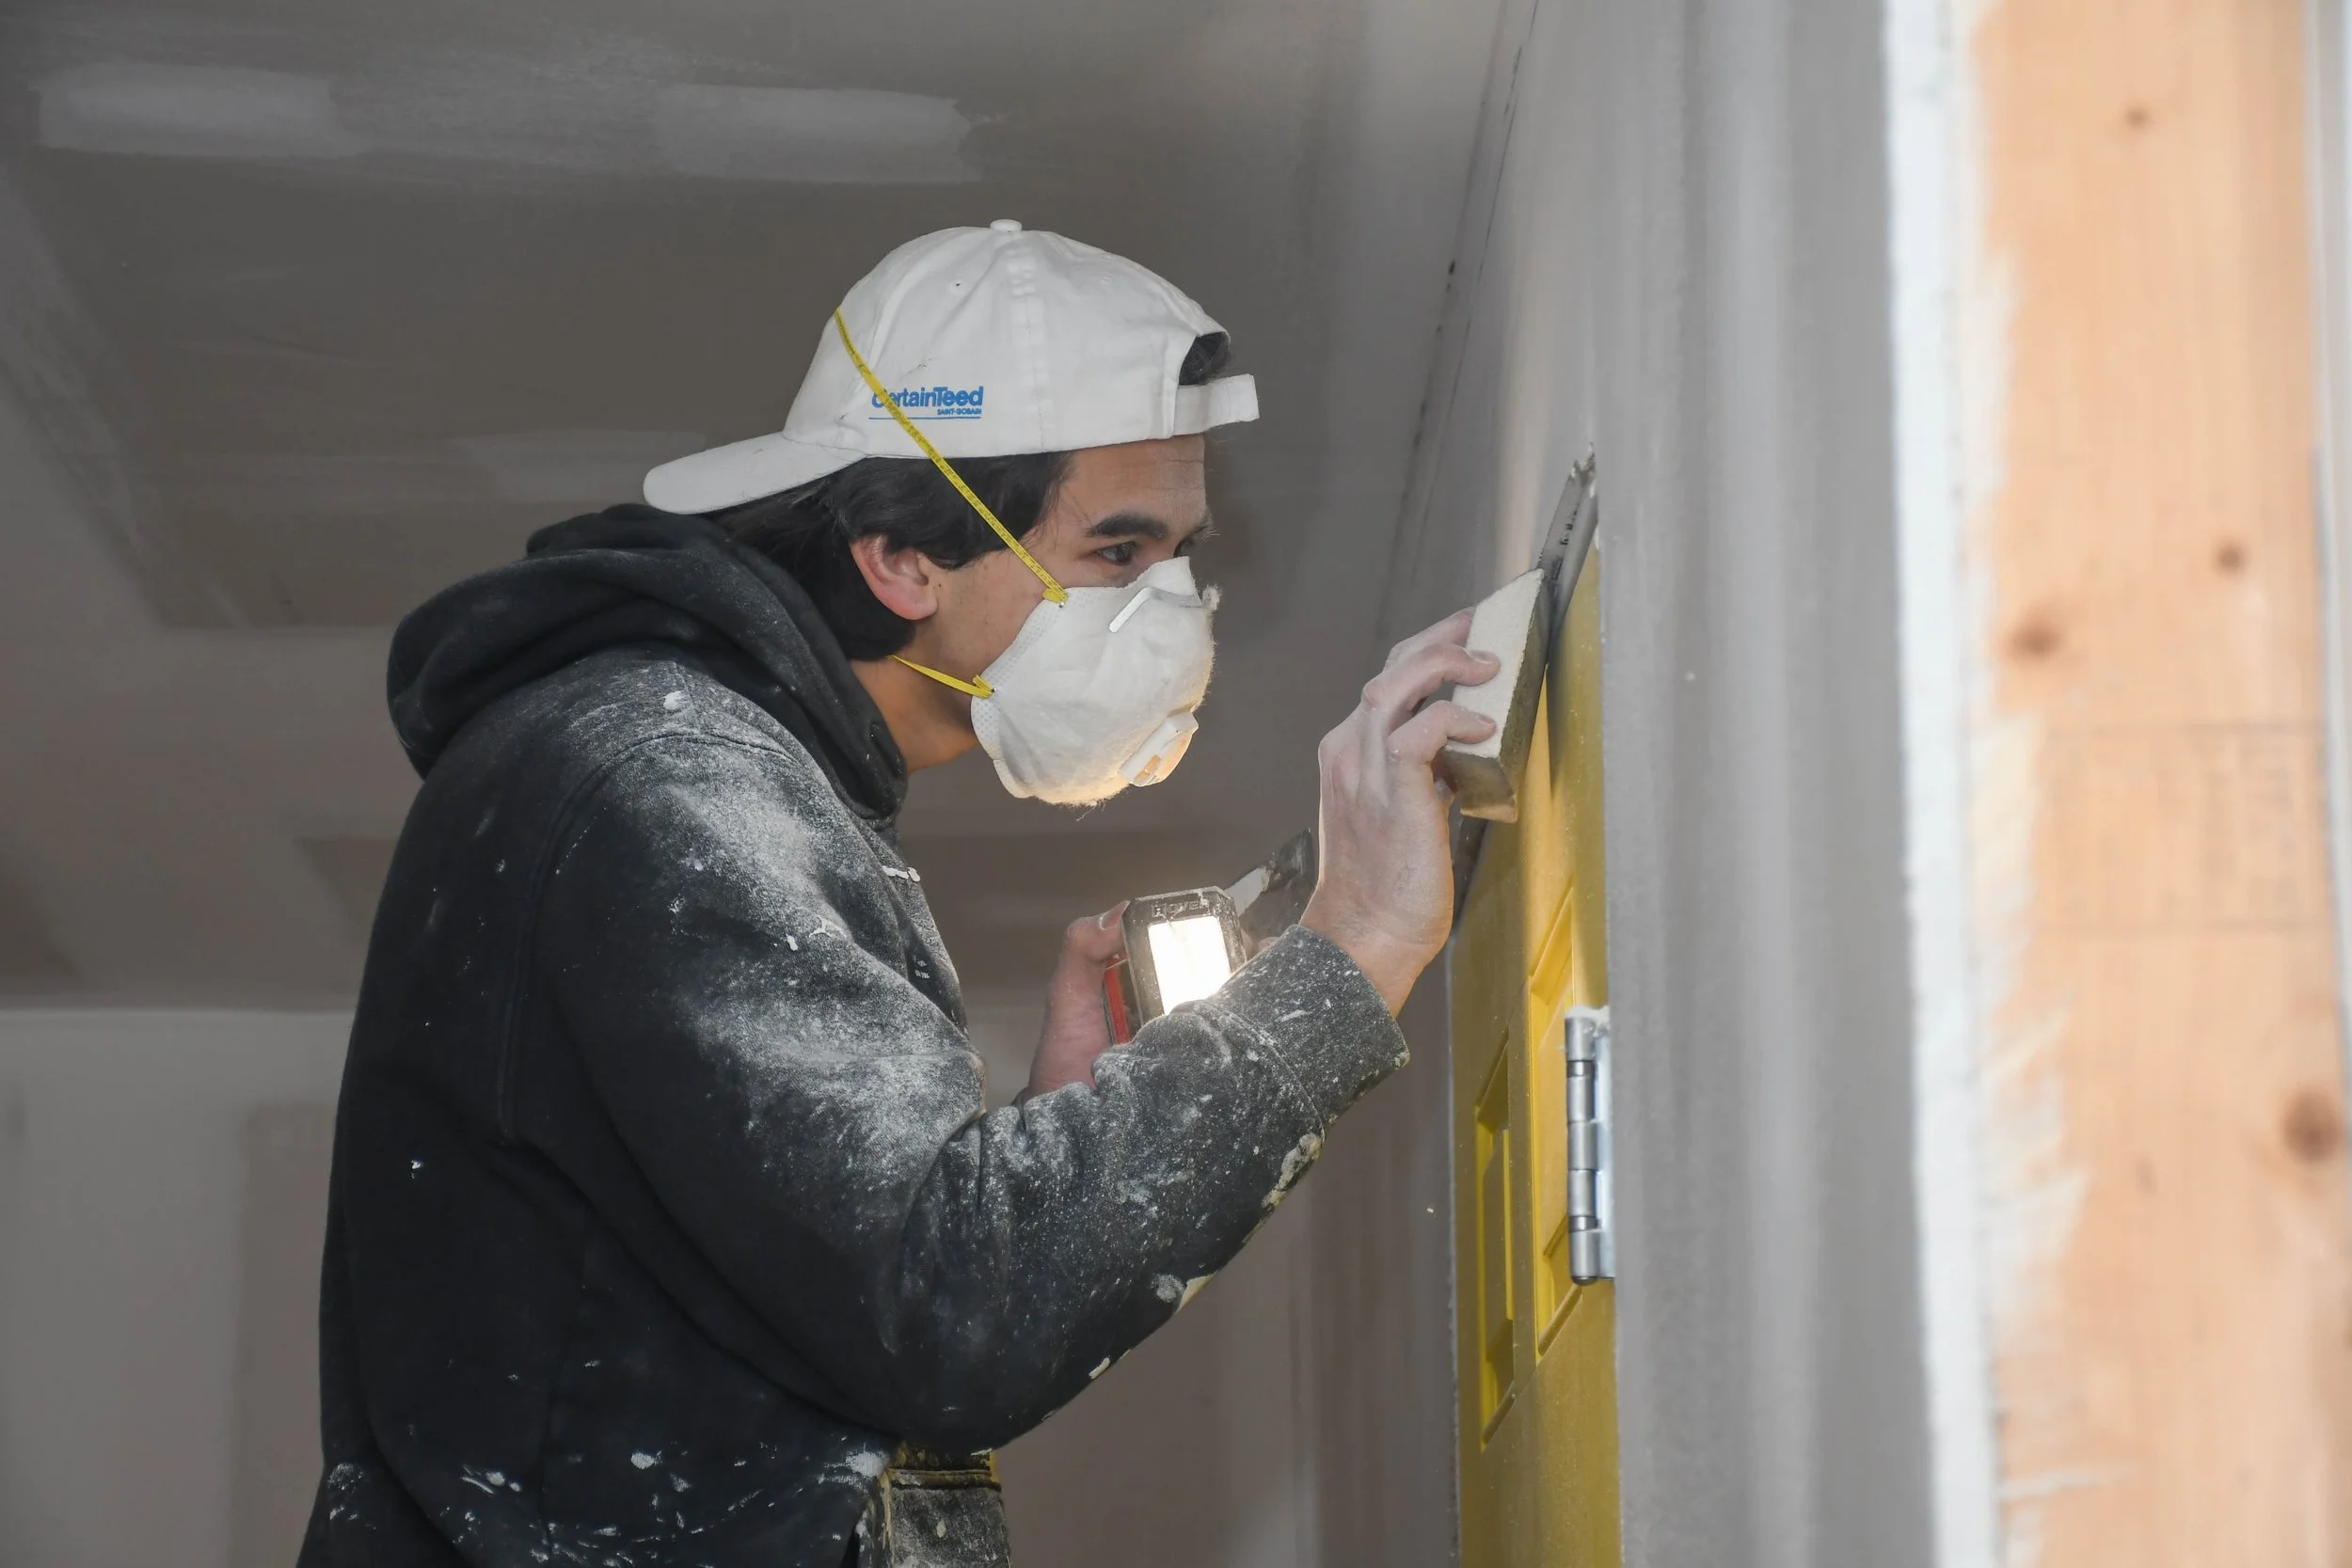
Precision sanding using the sponge to buff out any imperfections
Step 4: Priming and Painting for the Final Touch
After the walls were completely smooth, we moved on to primer and paint. Priming seals the drywall, preventing uneven absorption and ensuring that the topcoat looks flawless.
For this project, we used a bright, neutral color to make the garage feel more spacious and clean. The transformation from raw drywall to painted walls is remarkable. The space finally comes alive.
We always step back and review the walls after each coat, looking for any imperfections the light might reveal. This attention to detail is what turns a good finish into a great finish.
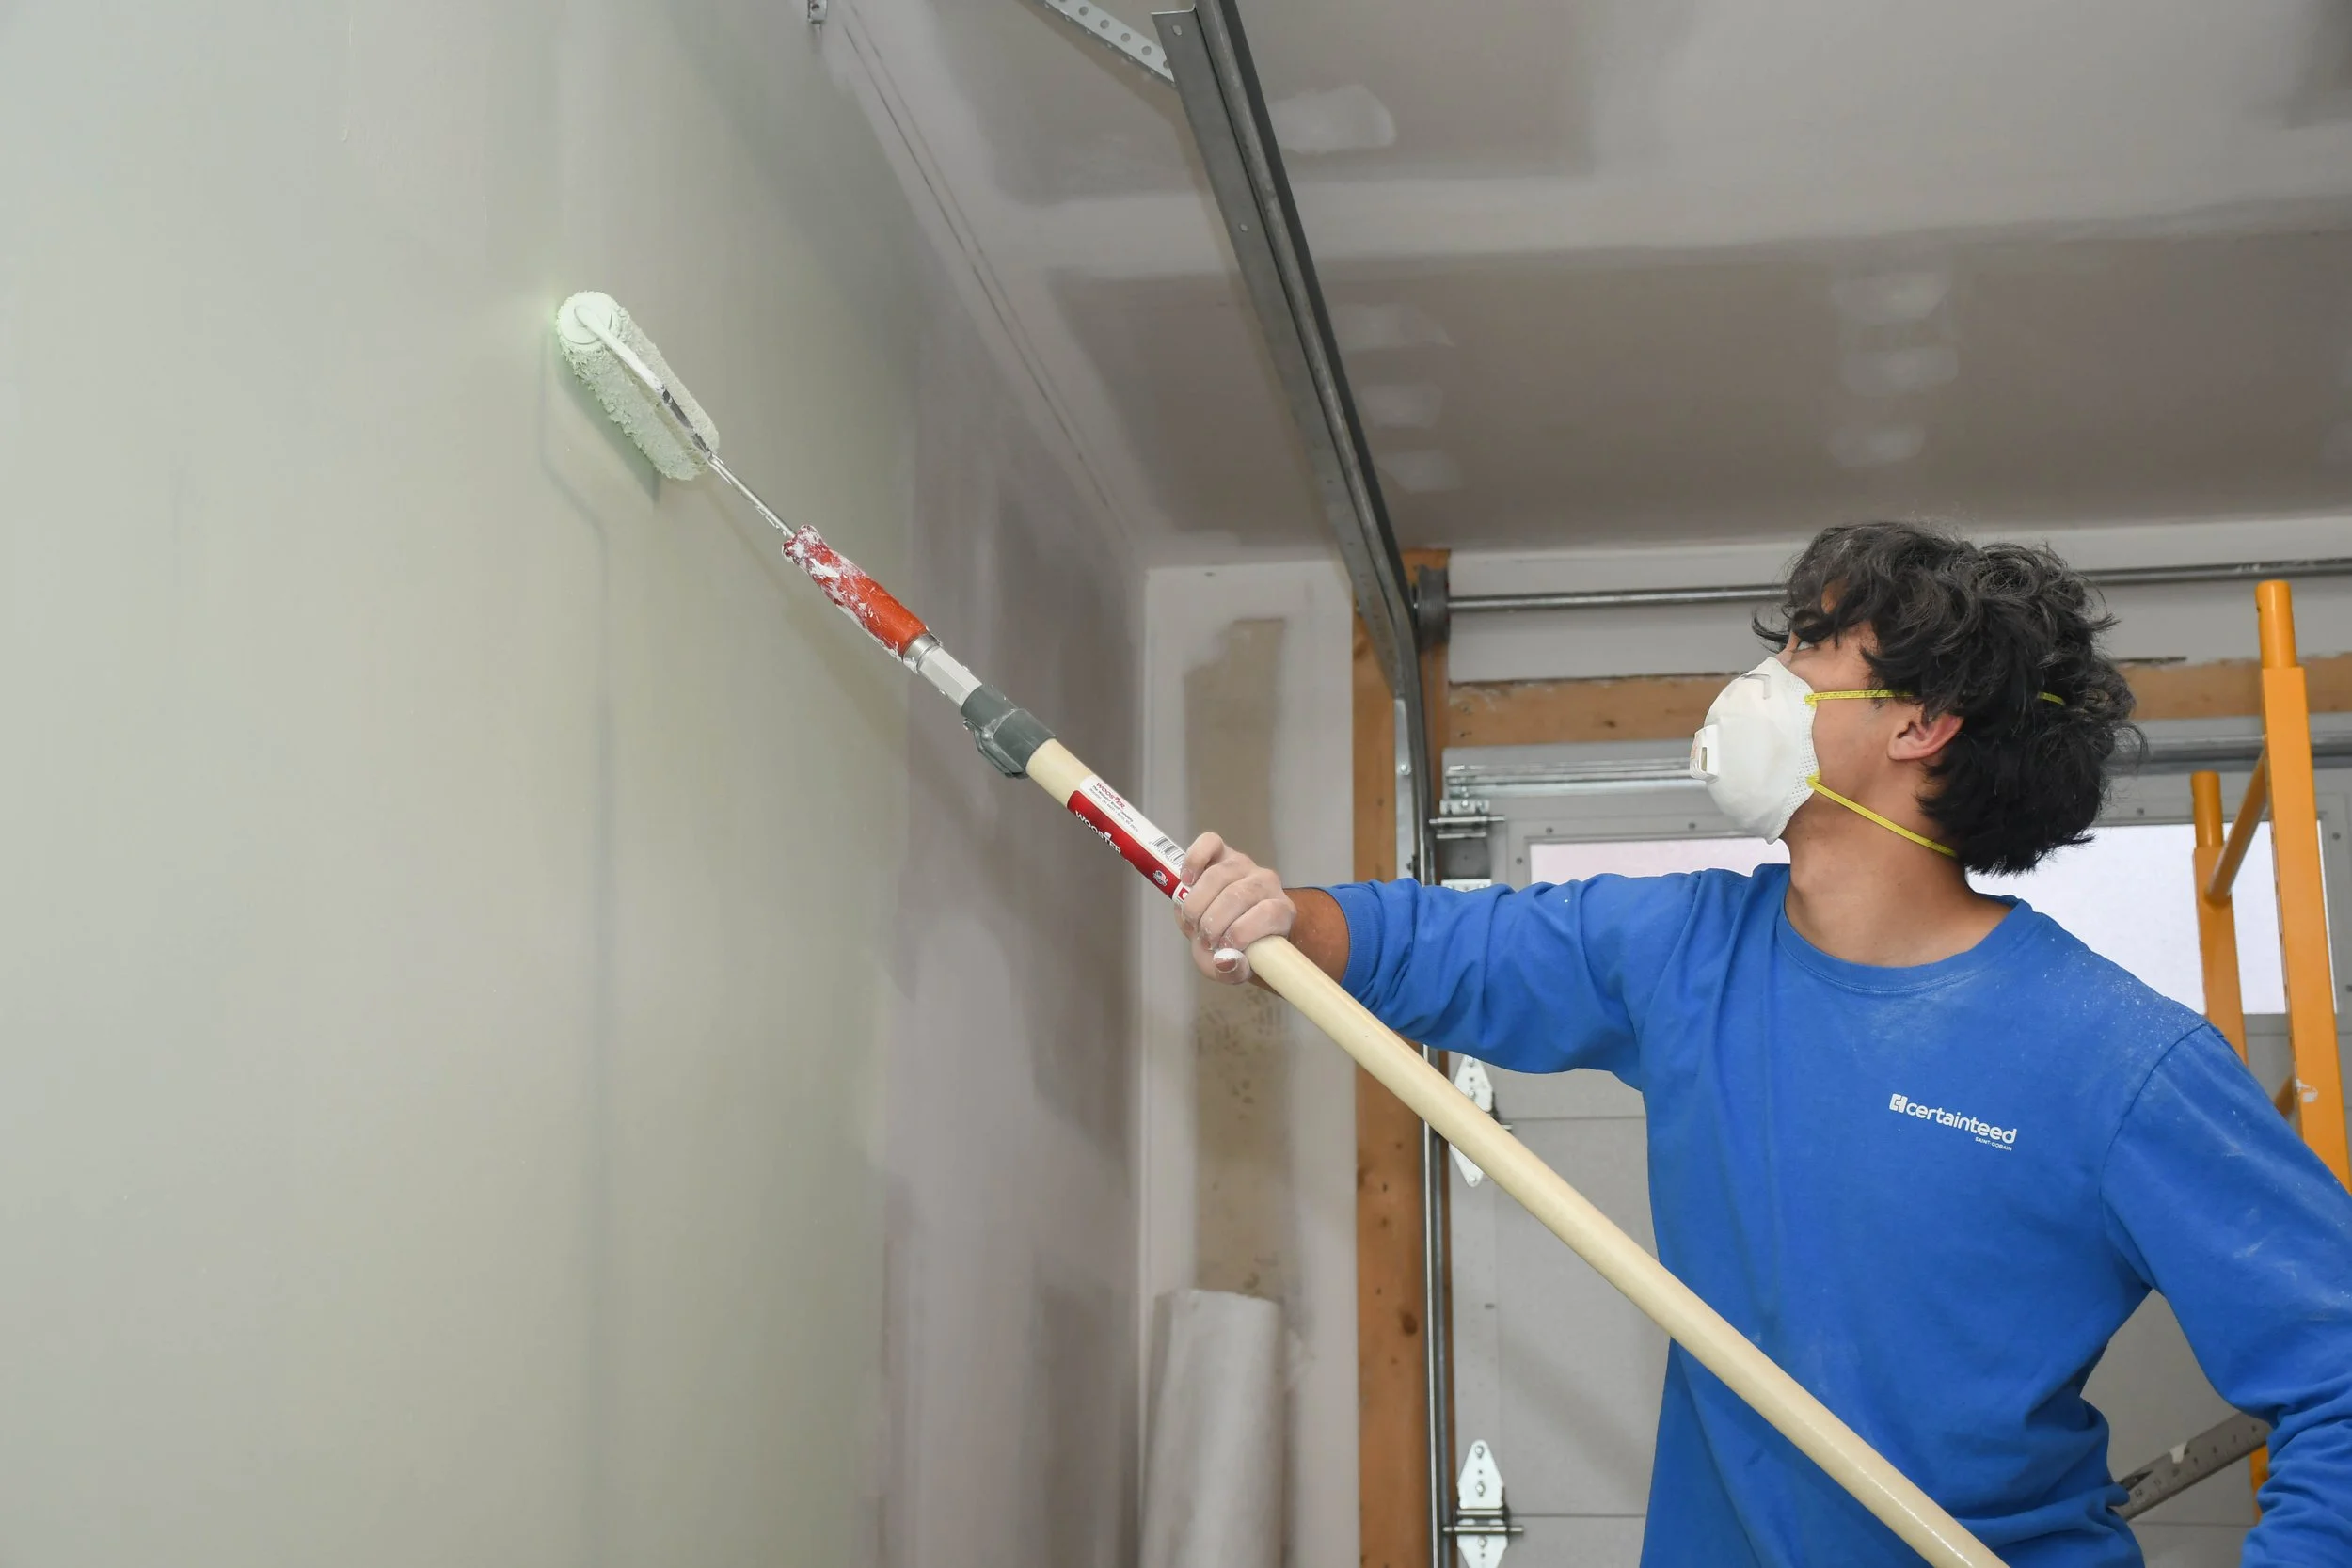
Evenly rolling out the paint onto the wall to achieve a uniform look
Challenges We Faced
No project is without its challenges, and this garage was no exception. One of the biggest hurdles was working around existing tools, furniture, and previously installed drywall. Moving around everything carefully without damaging items or walls required extra planning and patience.
On top of that, garages can be tough environments to work in. The cold made taping, finishing, and painting more challenging. Temperature affects how joint compound dries and how paint applies, so we had to adjust our timing and techniques to ensure a smooth, professional finish.
Even with these obstacles, careful preparation and attention to detail allowed us to overcome each challenge. It’s always rewarding to see a space come together beautifully despite the complications.
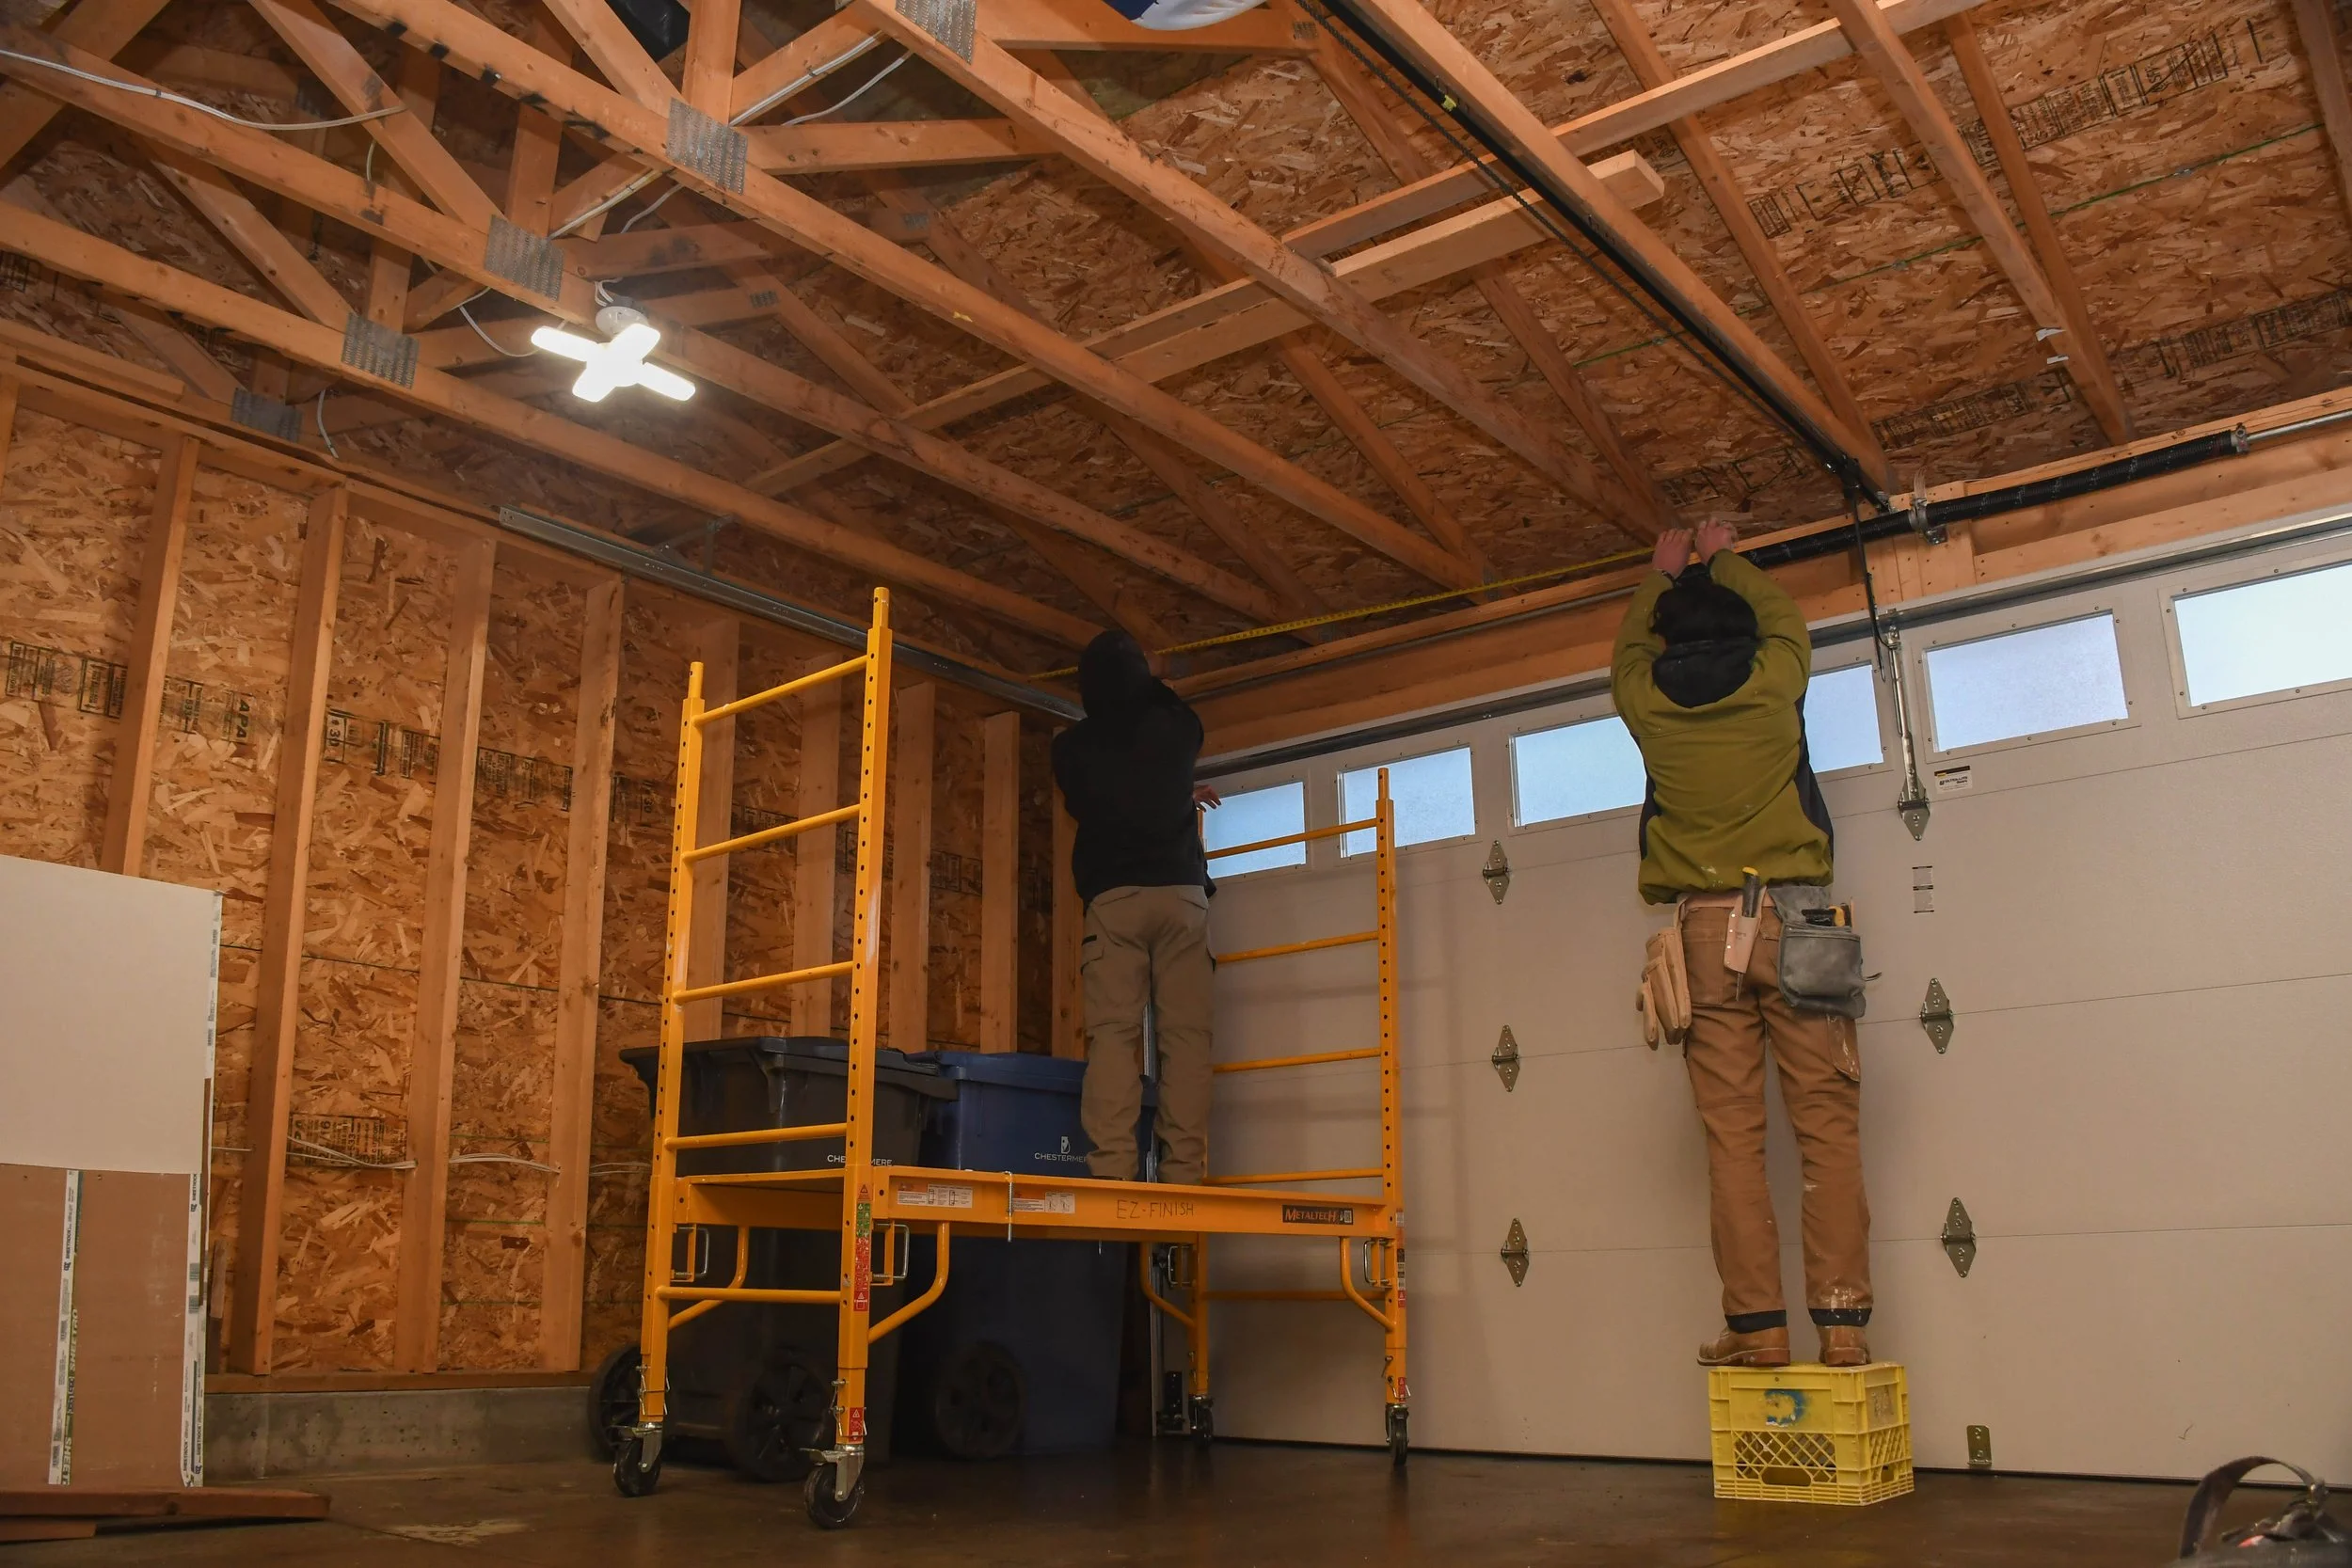
Taking measurements and inspecting the framing of the garage
The Result: A Functional, Polished Space
The finished garage is bright, insulated, and completely transformed. The homeowner now has a space that feels connected to the rest of the home. It’s a space that’s comfortable in any season, ready for storage, hobbies, or even a small workshop.
What makes this project special is how a few well-executed steps — insulation, precise drywall installation, expert taping, and smooth painting — can completely change the function and feel of a space. It’s not just about looking good; it’s about creating a space that lasts and serves the homeowner well.
Why Professional Drywall Finishing Matters
Many homeowners underestimate the importance of professional drywall finishing. Proper taping, mudding, and sanding prevent cracks, uneven surfaces, and future repairs. When combined with insulation and proper painting, it enhances comfort, durability, and property value.
DIY solutions can save money upfront, but professional finishing ensures that your walls — and your investment — stand the test of time.
Thinking About Your Own Garage or Interior Project?
Have you considered an upgrade to your garage? Whether you’re in Calgary, Chestermere, or surrounding areas, we’re here to help. For all your interior finishing needs, we provide the expertise and attention to detail that turn a basic space into something functional and polished.
Contact us today for a free estimate, and let’s bring your space to life.
Nov 13, 2025